Thursday, July 19, 2012

HIDI part 8; guards and handle material


After polishing it is time to attach the guards (pin and solder). Prior to doing that though I use temp pins and rough shape the guards.

Plenty of blue tape to protect my investment of time in the polished blade. Pre-shaping the guard allows you to more successfully hide the pins. Instead of peening or pressing or both into stainless that is going to be ground away you are peening very close to the finished level. This usually insures an invisible pin.

A close to finish dimension guard.

6 guards ready to attach, all sanded out to 15 micron ;close to 1000 grit. Prior to affixing the guards I clean everything thoroughly with Duplicolor wax remover and alcohol so that I don't end up with an surprises when I solder.

My peening surface, ( I would eventually like to own a nice post anvil for different beating jobs) a 4x4 steel leg supporting 3/8" steel top with an additional 3/4" plate on top of that; works pretty well. I have so far been successful without a pin press so I will probably continue with this method.

Peening and peening...

and done. On to soldering.

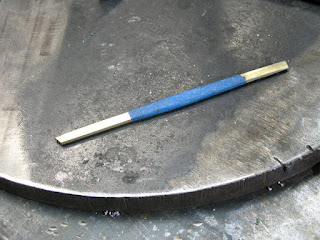
Being new and still anxious about some processes I didn't get many action shots of this, also for what ever reason my camera refused to focus on this part. So just a few to move us further along. I use a piece of rectangular brass stock as a graver. I round both top and bottom to give a nice concave fillet.

Set-up in my mini vise and ready for solder. I use the same process detailed in the SRJ sub-hilt DVD.

Post solder clean-up

Flatten all of the handle material.

Blast both liner and handle material, and then...


wipe down with alcohol...

glue...

clamp...

and then clean-up of the pre-glued liner and handle material. This may seem like a lot of work but I do this process in the evenings because the day job won't allow much more and it is still forward progress! As you can see mostly Micarta.

Thursday, July 5, 2012

Loveless design/pattern vs. Loveless inspired

A study in the actual design/pattern vs. what I call inspired:

All the styling cues are there: blade shape, number of fasteners, lanyard tube, etc...
just bigger and beefier
Integral guard
.270" A2 vs .200" CPM154 both with tapered tangs