Monday, May 14, 2012

HIDI part 6; More guards and pre-shaping

 So a little more milling of a fighter guard:


With the size of these mills (a bit fragile) I drill a series of holes to remove some of the material and then connect the dots.
To bad you pay for everything not just what you use!

I guess they fit okay?  These are straight from the mill, 0 file/hand work.
Guards fitted; I am note sure were the 6th went in this picture.

Drilling for pins. Notice the guards just look like chunks of steel:


Pre-HT rough guard shaping.


If I have done it correctly I can remove most of the soon to be waste material and take a bit off of the guard shoulders and create a seamless fit (the reason it is pre-HT).
Guards fitted, pin holes drilled, and I had to go do one more thing:
I collect chute knives; I had to go ol' skool and put lanyard holes in the Chute's guard.
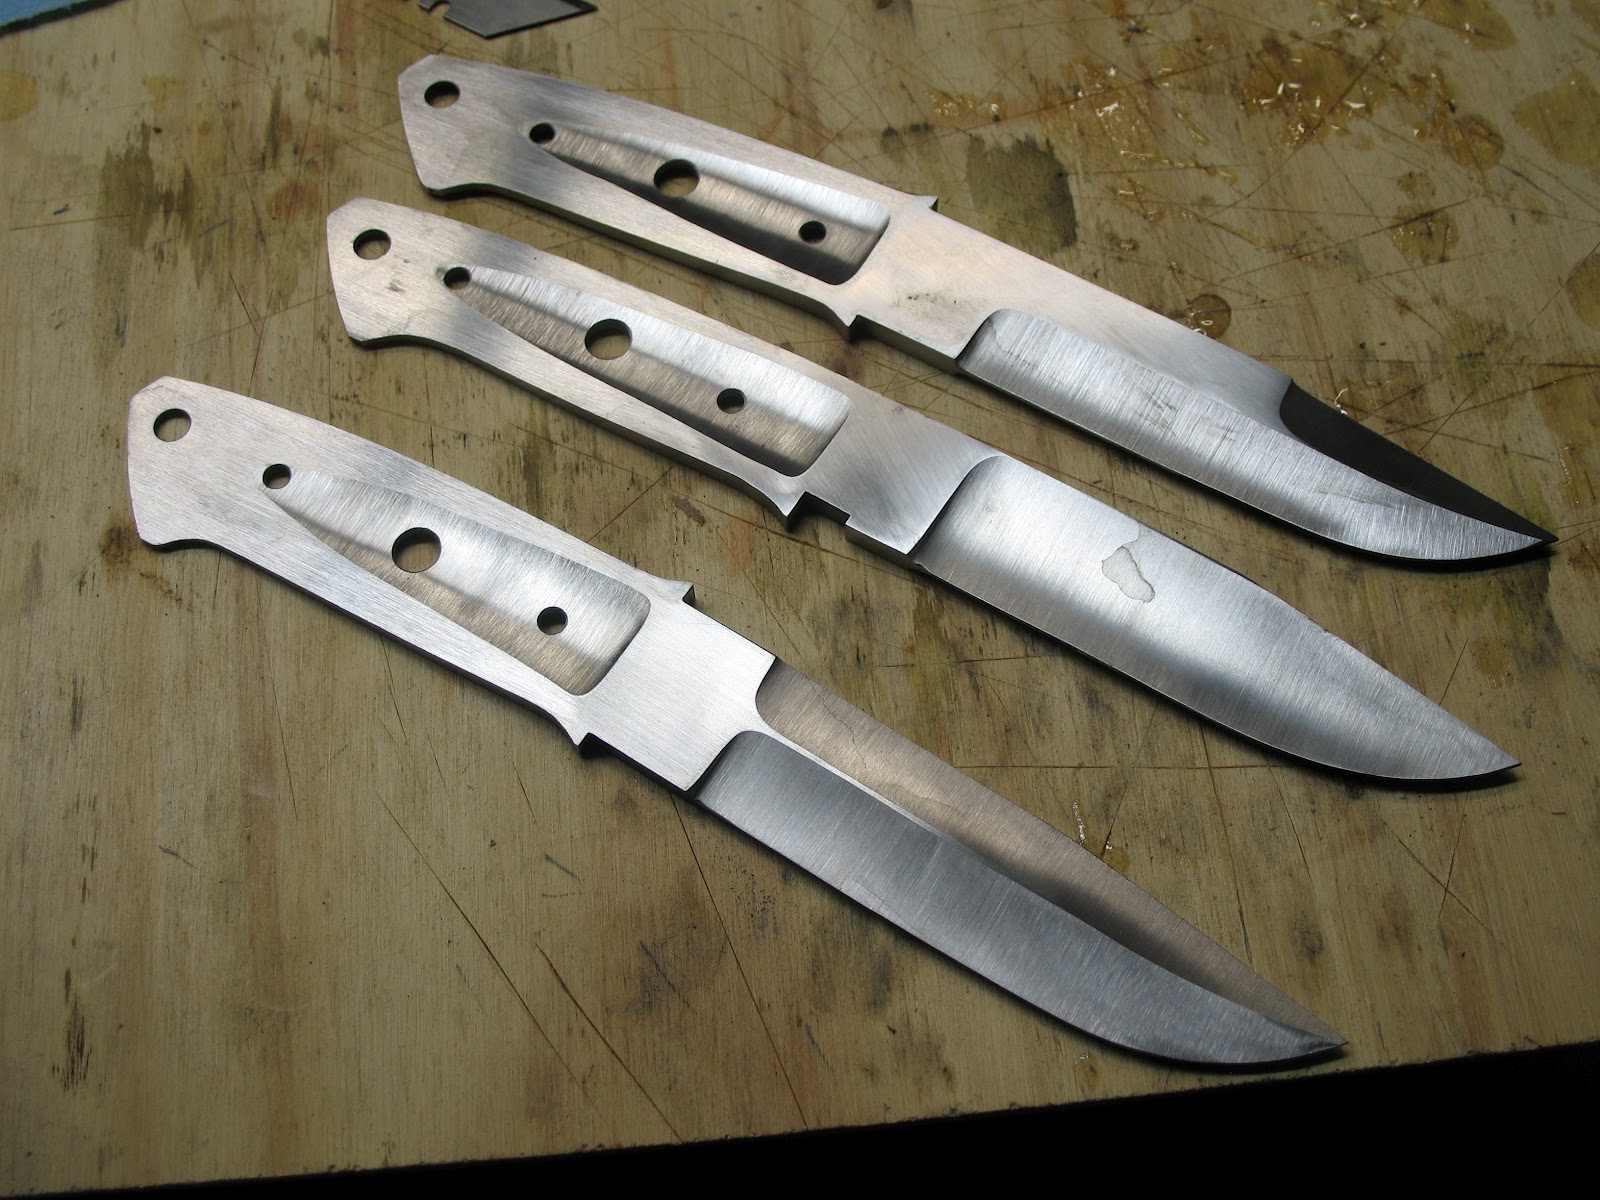
A pile of blades:
Ready for HT


Sunday, May 13, 2012

HIDI part 5; Some handwork and starting the guards.

Sorry it has been a while I have been busy making knives.

So we left off with the "rough" grinds.  I take my blades to 400 pre-HT and then start back at 220 after.

Loveless hunters have a square spine and bottom of the ricasso.  The next few pictures really only apply to fighters; most of the time.:D

So the Chute is clamped ready to radius (don't make fun of the size of my vise).  I have 5 different vises and I can't get comfortable doing small/detail work with the larger ones.


I use a file with a safe edge to file against the shoulders
And check for perfection.
The Mini-Wilderness with the top an bottom of the ricasso radiused
One of the crowning moments of my career so far.  Fighters only have the clip sharpened.  So to add strength and character there is a nice taper from the top plunges to the break in the spine.  Not the easiest and looks killer on the finished knife.
The line-up ready for guards. All ground to 400 on the bevels. Flats are out to 800.
Another one of my finds. A manual Index brand mill.  This company is still in business and still made in the USA. They still have records on when mine left the factory and who it want to. I hope eventually to restore it; most of the parts are still available. Just as encouragement, shop around. My mill, vertical band-saw, and surface grinder cost a total of $1950. You will see how accurate the mill and I are in a moment.
Milling some 416 for the Utility, Chute and Mini-Wilderness to nominal size. I am able to get 416 for the Stiff Horns close enough.
Surface grinding to final dimension.
Cut to size. (that's just a fancy push stick to the right; safety first
I hate parallels, so I made a pair of aluminum jaws with two steps milled in for different stock thickness. Here milling the guard for the Utility. 
Finished.
Part six will be more guards ad getting ready for heat treat...


Wednesday, March 28, 2012

HIDI part 4; Grinding

I find that one of the most important things to do prior to grinding the bevel is an accurate lead-in bevel.  This sets pre-heat treat edge thickness, establishes the start of your plunge and saves you from stripping the abrasive from new belts.

My lead-in grinding set-up; 10" wheel and the MAP arm

Accurate lead-in grind established

I got ahead of myself. All the bluing was removed during the lead-in grind, had to go back and remark
10" wheel ready for grinding a hunter

A 6" wheel ready for grinding a fighter
Free hand grinding

I do all my grinding free hand. I do fairly well know, after a lot of practice. 


 A few rough ground blades ready for the next step: some hand work and guards!


Thursday, March 1, 2012

HIDI part 3; Getting ready to grind

In the last installment I tapered the tangs with the mill scale on the profiled blade; I do this to save time.  I am removing a lot of steel along with the mill scale when I taper the tang so that when I end up at the surface grinder I only need to grind half of the profiled blade.

Post surface grind Utility Hunter.
The above step makes for a flat ricasso and saves on belts.

I use two methods for scribing reference lines on the blade profile. One for the edge thickness and the second for the grind height.
Good old surface plate and height gauge for marking the blade thickness.
Loveless shop trick - grind height gauge.


Grind height gauge in use. 
The value of using this simple gauge is that you can consistently scribe the same reference on the same pattern time and again mirrored side to side.  You no longer need to try to get your blade plumb to a height gauge or worry about one jaw of your calipers being in the wrong location creating a reference that is different side to side.  Another bonus is zero set-up time.

Ready to grind.
Next installment - Grinding!

Friday, February 24, 2012

HIDI part 2; Tapering a tang

First I will apologize; I didn't really intend to do a step by step build.  I was just trying to learn how to use my camera better.  The pictures get better and more comprehensive as we go along.


 The two pictures above are of the post-hollow grind, pre-taper.  I coat the butt of the knife with Dykem and use a height gauge to scribe the desired taper thickness.  I have more success taking the hollow completely off the butt of the knife as opposed to creating a oval shaped hollow starting near the guard and ending somewhere near the butt.  ( t-b Utility Hunter, Chute, Mini-Wilderness, and three different pattern Stiffhorns (these are original Loveless patterns the bottom is the traditional, more common))
 I am fortunate enough to have a surface grinder; this allows me to make sure that my flat platen is FLAT. It is amazing how little grinding it takes to cause a significant depression in the original KMG platen ( I haven't had the time to make a full hard platen).
 Everybody seems to have their favorite way of flat grinding or tapering a tang.  I have had success using the top secret welding magnet. Two things make the magnet a favorite; the hole allows for a positive grip and the large flat surface allows even pressure on the tang (seems like I can get them flatter).
 Post tapering; nice and flat! Taking the original hollow fully off the butt of the handle makes starting the bevel easier with less material to remove.
 Top view of three tapered tangs.

Tuesday, February 21, 2012

HIDI (How I Do It) part 1 of making a Loveless pattern knife

I have been trying to take pictures/document how I currently make a Loveless pattern knife; Here is the start to making a Utility Hunter, Chute, Mini-Wilderness, and three different versions of the Stiffhorn. Enjoy!

A pile o' patterns. I firmly believe that if you want to make the same knife a second or 56th time that you cannot do it without a good pattern.  All of my original designs get transferred to .25" steel.  I have a number of Loveless patterns that are steel to steel (not steel/paper/steel) patterns straight from the Loveless shop.
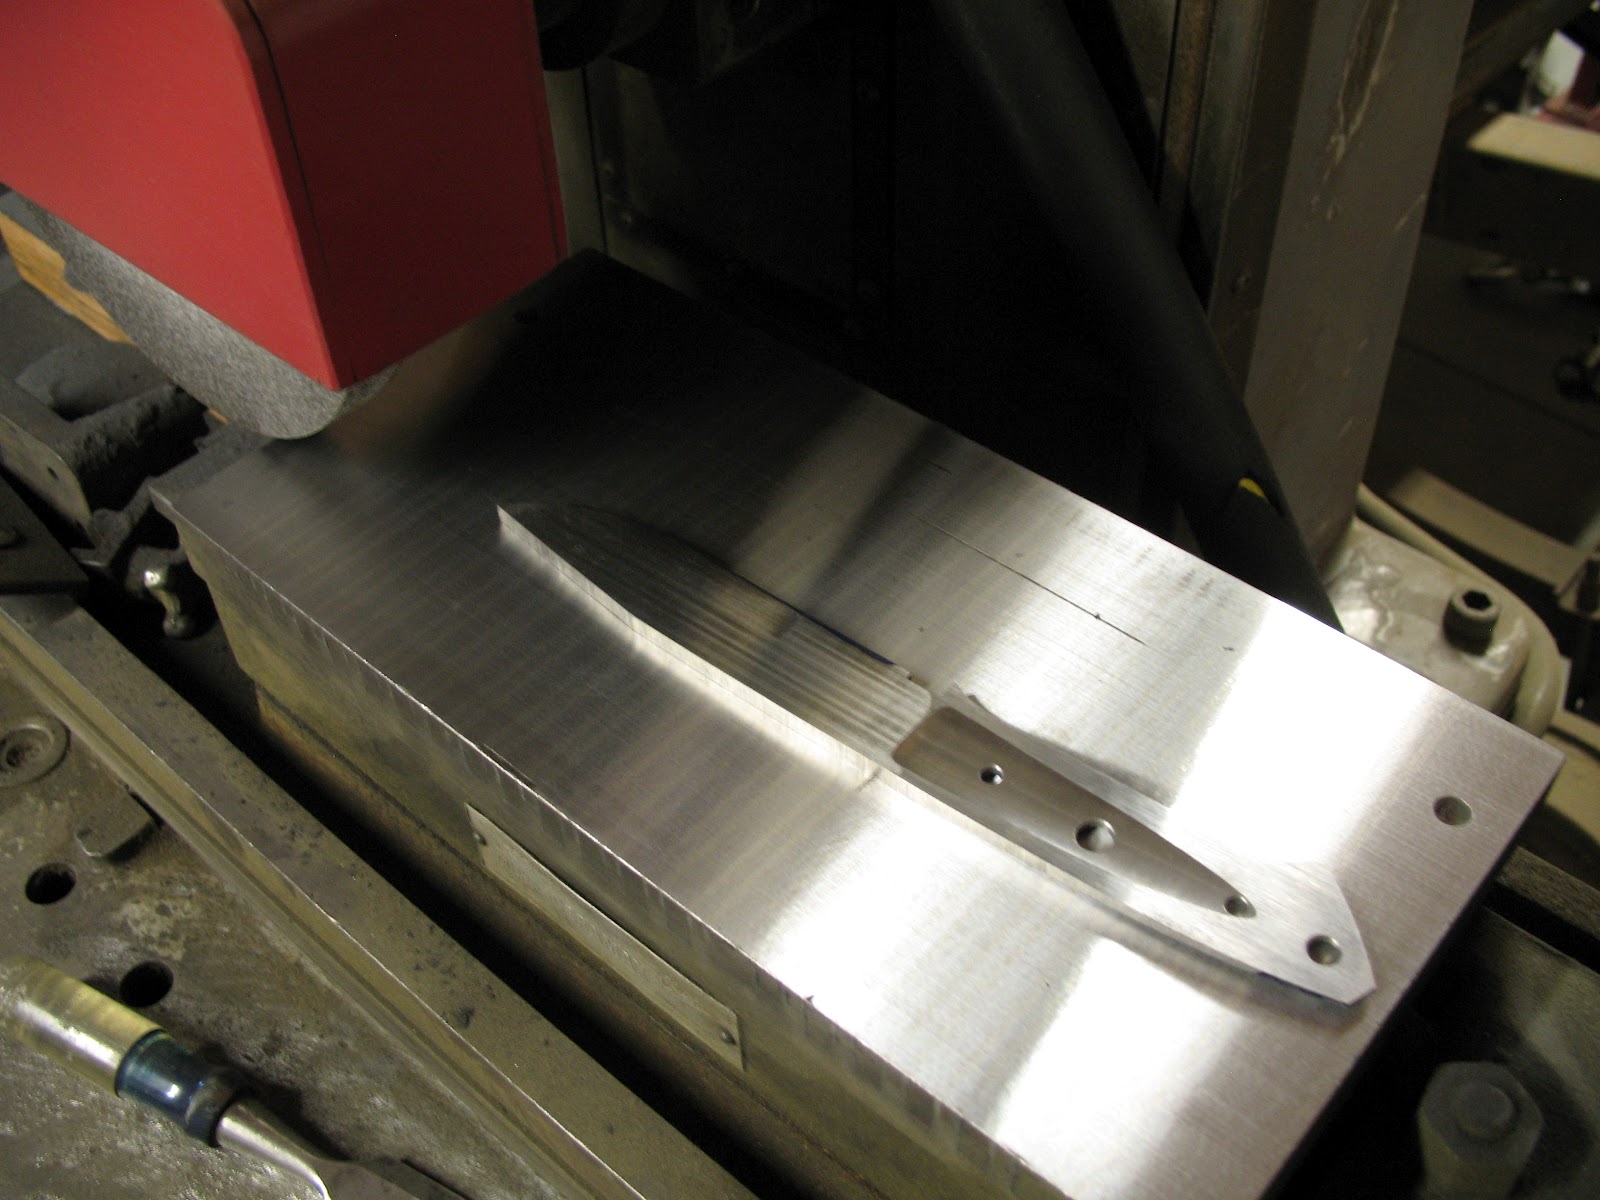
 Clamp and scribe onto your steel of choice. In this case the Hunter and Fighters are out of CPM154; the Stiffhorns are 154CM.

 Weapon of choice for profiling a blade blank (Vintage Powermatic steel cutting band-saw).  Saves on abrasive belts. Water jet would be nice but I don't do enough quantity.

 Cut out on the band saw and almost ground to shape. You can barely see the scribed line; when profiling a blade blank I try to split the scribed outline getting as close to actual size as possible.

 Finished profiling the blank but you can see that the shoulders and guard notches don't yet exist, so off to the mill to true everything up and mill the notches.
All six with milled guard notches and drilled for handle fasteners and lanyard tubes.

The first steps aren't very exciting but they are the foundation for the finished knife. I try make everything as precise as possible. The next entry will be tapering the tangs.