In the last installment I tapered the tangs with the mill scale on the profiled blade; I do this to save time. I am removing a lot of steel along with the mill scale when I taper the tang so that when I end up at the surface grinder I only need to grind half of the profiled blade.
 |
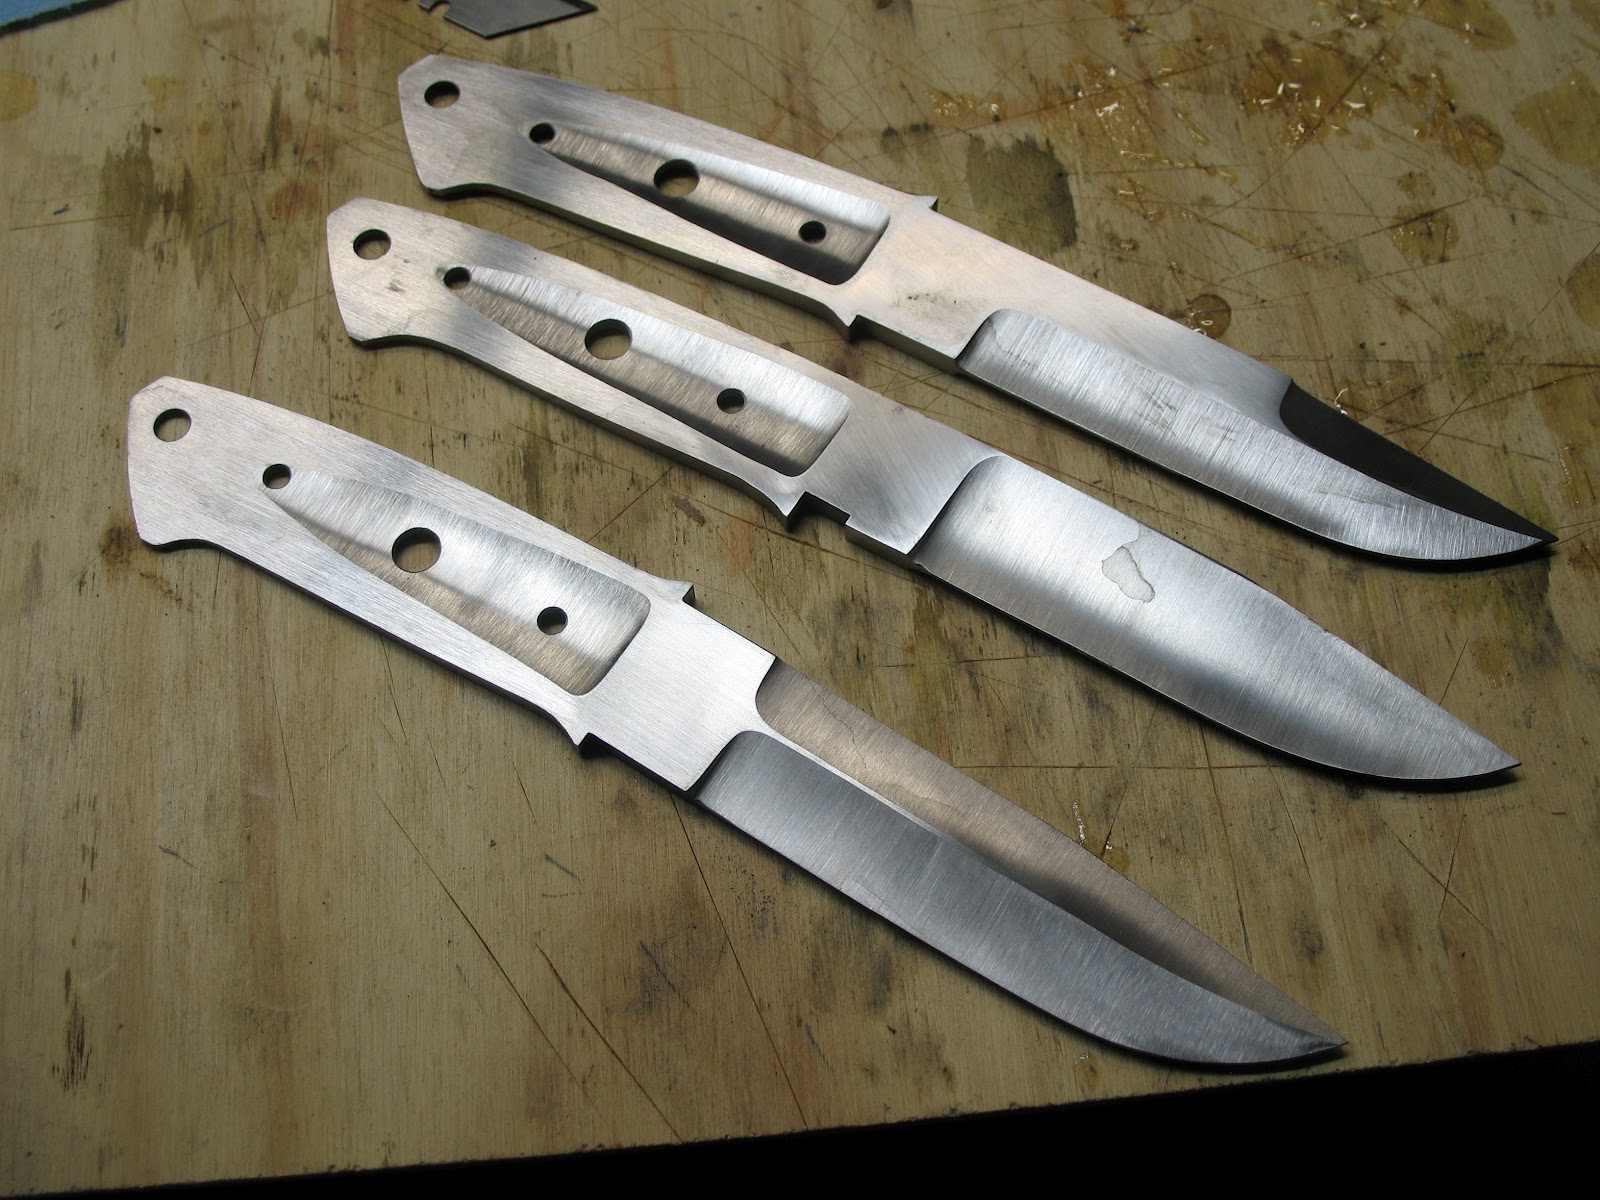
| Post surface grind Utility Hunter. |
The above step makes for a flat ricasso and saves on belts.
I use two methods for scribing reference lines on the blade profile. One for the edge thickness and the second for the grind height.
 |
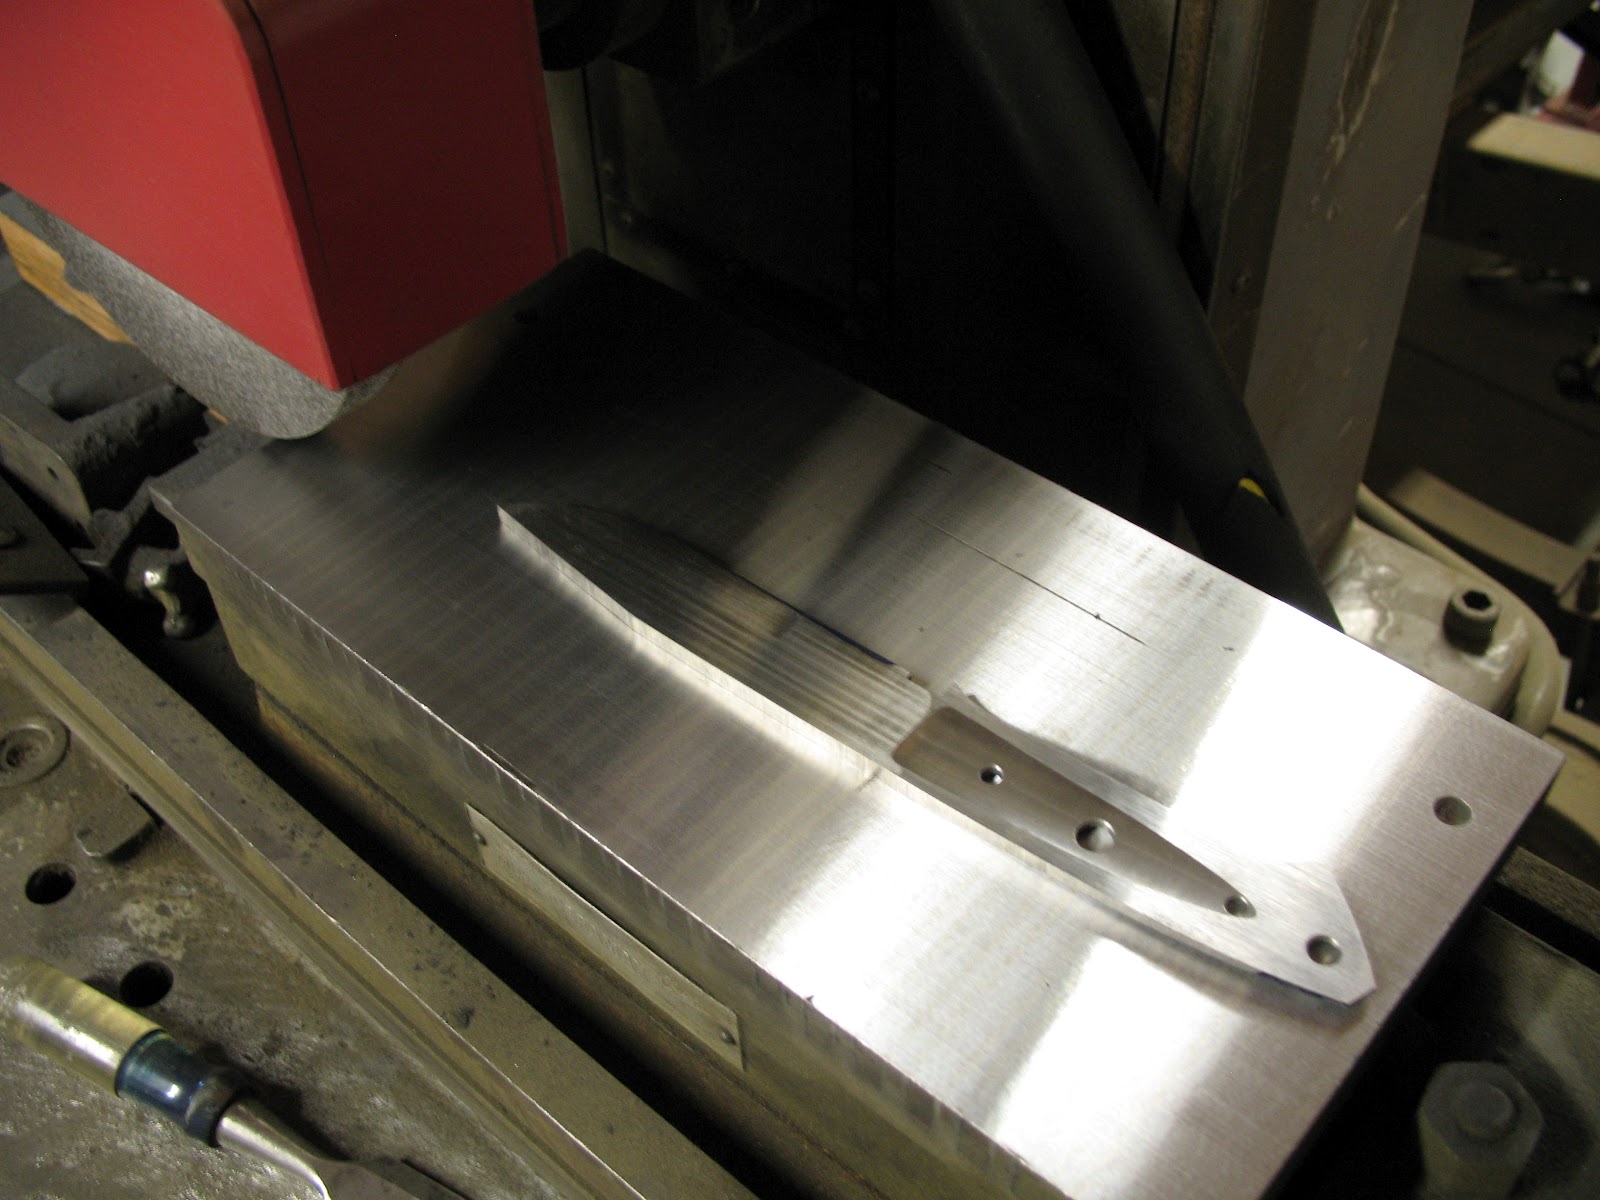
| Good old surface plate and height gauge for marking the blade thickness. |
 |
| Loveless shop trick - grind height gauge. |
|
|
|
 |
| Grind height gauge in use. |
|
The value of using this simple gauge is that you can consistently scribe the same reference on the same pattern time and again mirrored side to side. You no longer need to try to get your blade plumb to a height gauge or worry about one jaw of your calipers being in the wrong location creating a reference that is different side to side. Another bonus is zero set-up time.
 |
| Ready to grind. |
Next installment - Grinding!